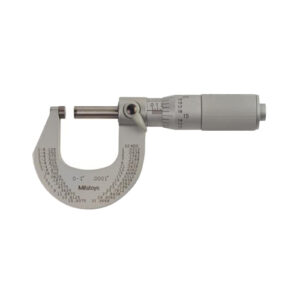
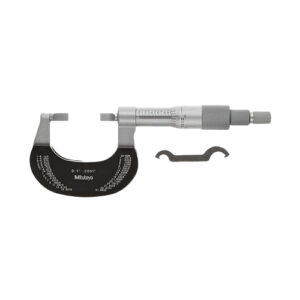
Mitutoyo 101 Series Micrometer 0-1″ with Ratchet Stop
– Satin-chrome-finished frame, tapered (on the anvil side) for hard-to-reach places.
– With a standard bar except for 0 – 1″ models.
– Supplied in fitted plastic case.
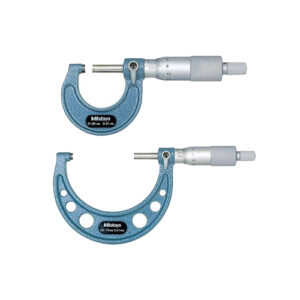
Mitutoyo 103 Series Outside Mechanical Micrometer w/Ratchet Stop 0-25mm
– Hammertone, baked-enamel-finished
– With a standard bar except for 0-25mm frame model.
– Ratchet Stop for exact repetitive readings.
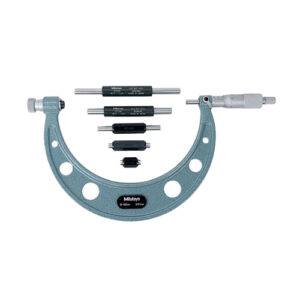
Mitutoyo 104 & 340 series Micrometer with Interchangeable Anvils
– Wide range of measurement with interchangeable anvils
– Ratchet stop for constant force
– Zero-setting Standards
– Supplied in fitted wooden case
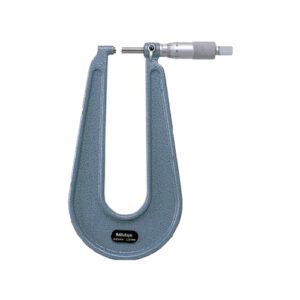
Mitutoyo 118 & 389 Series Sheet Metal Micrometer
– Ratchet stop for constant force
– Measures thickness of sheet metal, paper, plastic and rubber parts
– Supplied in fitted plastic case
Mitutoyo 122 Series Blade Micrometer
– The anvil and the spindle have a blade for measuring the groove diameter of shafts, keyways, and other hard-to-reach areas.
– With Ratchet Stop for constant force.
– Speedy spindle feed of .4″/10mm /rev. (Quickmike type).
– With a standard bar except 0 – 1″ and 0 -25mm model.
– Supplied in fitted plastic case.
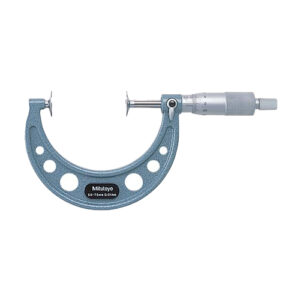
Mitutoyo 123 & 323 Series Disk Micrometer
– Carbide measuring faces
– Clear graduations on satin chrome finish and easy to read digit counter
– Supplied in fitted plastic case
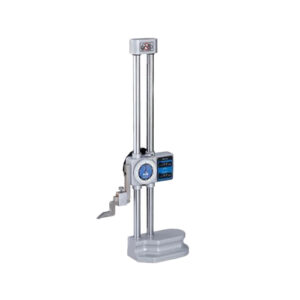
Mitutoyo 192 Series Dial Height Guage
– Easy and error-free reading with dual counters
– Feed wheel
– Carbide-tipped scriber
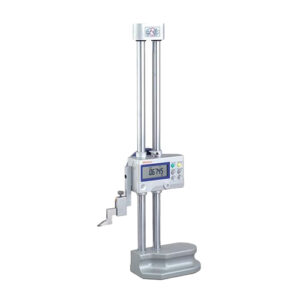
Mitutoyo 192 Series Digital Height Guage
– Easy-to-use standard type
– Provided with Carbide-tipped scriber
– Double-column structure that ensures high measuring accuracy
– SPC data output
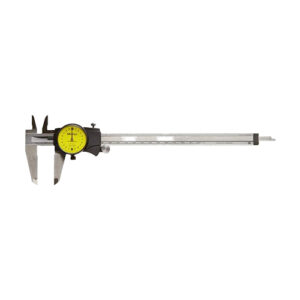
Mitutoyo 505 Series Dial Caliper
– New designed dial for smooth sliding and shock protection
– Measures outside, inside, depth and steps
– Lock screw for holding position
– Supplied in fitted plastic case
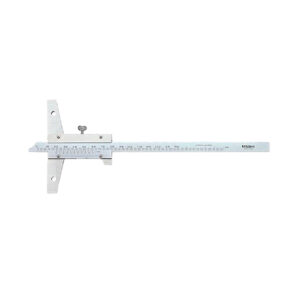
Mitutoyo 527 Series Depth Gage With Fine Adjustment
– Hardened and Micro-lapped measuring faces
– Has fine adjustment
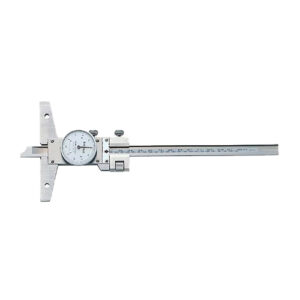
Mitutoyo 527 Series Dial Depth Guage
– Easier and faster reading dial
– Made of hardened stainless steel
– Micro-lapped and hardened base and measuring face
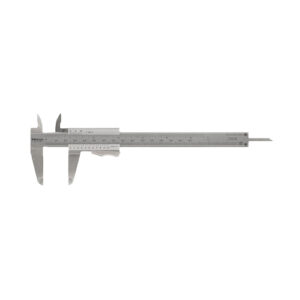
Mitutoyo 530 Sseries Standard Vernier Caliper
– Can measure OD (outside diameter), ID (inside diameter), depth and steps.
– The small vernier face angle, 14 degrees, provides easy reading.
– Lock screw for holding the sliding jaw position.
– Carbide-tipped jaw type calipers are also available.
– Supplied with vinyl holster in fitted carton. Except 600mm models are carton only. 1000mm supplied in wooden case
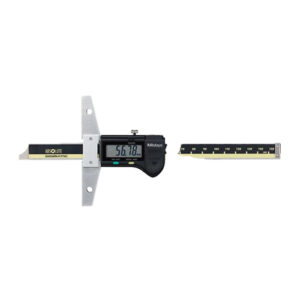
Mitutoyo 571 Series Digimatic Depth Guage
– Absolute Encoder ensures all settings and readings maintained for the life of the battery (even when the power is turned off)
– Base and measuring faces are hardened and micro-lapped
– With SPC data output
– 20,000 Hour battery life under normal conditions
– Slider lock screw
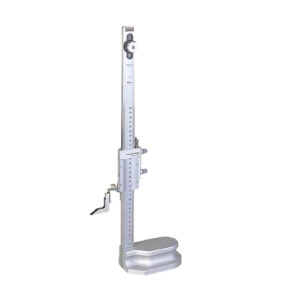
Mitutoyo Dial Bore Gauge 511aMitutoyo Standard Vernier Height Gage 514 Series w/Adjustable Main Scale
– Zero reference point can be adjusted
– Stain chrome finished scales for glare-free reading
– Extra-large base for rigidity
– Optional magnifier for easier reading
– Carbide-tipped scriber provided
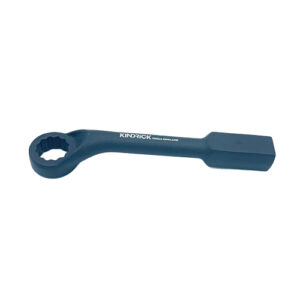
Offset Slogging Wrench
45 º offset head spanner with sticking end
strong profiled handle and striking end for heavy duty applications
Forged from good quality carbon steel hardened tempered with black sand spraying which is abrasive surface and top grade
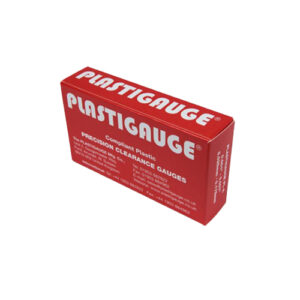
Plastigauge PL-A
FOR MEASUREMENTS OF: 0.001″ to 0.007″ (0.025mm – 0.175mm)
CONTENTS: 100 gauges, measurement reading cards (mm & inches) & instructions
PLASTIGAUGE PL-A is widely used in the measurement of clearance in plain automotive bearings. Measurement of clearance in big-end bearings can be achieved without dismantling the crankshaft.
PLASTIGAUGE is a precision clearance gauge for the measurement of clearance (separation) between fitted surfaces. It is particularly useful for measuring clearances in split bearings or in situations where a feeler gauge cannot be inserted.
PLASTIGAUGE is particularly effective for the measurement of separation in moulding tools and wherever it is required to determine the separation between hidden surfaces.
PLASTIGAUGE may be used to detect high spots in cylinder heads, pipe flanges etc. It is useful in production, inspection and servicing.
Search
Product categories
- Abrasives (0)
- Cutting Tools (2)
- Hand Tools (0)
- Industrial Tools (0)
- Pilers (0)
- Precision Tools (0)
- Safety Products (0)
- Threading Tools (2)
- Tool Stroage (0)
- Tools (48)
- Uncategorized (0)
- Workshop Tools (1)
Filter by price
Product Status
Average rating
Selected static block was removed or unpublished

